Stiff neck? Sharp ache when you turn your head? You’re not alone. Below is a usable, step‑by‑step plan that lets you move safely, build strength and keep pain at bay.
Table of Contents
- Step 1: Check Whether Exercise Is Safe for Your Neck
- Step 2: Improve Your Posture and Breathing
- Step 3: Perform Gentle Neck Mobility Exercises
- Step 4: Build Support with Shoulder and Upper‑Back Exercises
- Step 5: Create a Gradual Routine and Know When to Get Help
- FAQ
- Conclusion
Step 1: Check Whether Exercise Is Safe for Your Neck
First, make sure your body is ready. If you’ve had recent neck surgery or a diagnosed condition, talk to a clinician before you start. The NHS warns that people with new neck problems should only do moves that feel comfortable and never increase pain beyond a mild level (0‑5 on a pain scale).NHS Inform’s guidance notes that a gradual return to activity gives the best short‑ and long‑term results.
Take a quick self‑check: can you sit upright without your head jutting forward? Do you feel dizziness when you tilt your head? If you notice loss of balance or a sudden spike in pain, stop and call a health professional.
When you feel ready, start with just two to three gentle repetitions of each move. Keep a notebook and note the pain rating after each set, staying under five means you’re in a safe zone.
Laurens Holve Healthcare offers a personalised assessment for anyone unsure about safety. Their osteopaths in North London and Woking can watch your technique and tweak it for you. Neck | Laurens Holve Healthcare
 Step 2: Improve Your Posture and Breathing
Bad posture is a hidden culprit behind most neck pain. When you hunch over a laptop, the muscles in the front of your neck stretch while the back‑side muscles tighten. The result is a forward‑head posture that strains the cervical spine.
Reset your workstation in five minutes: keep the screen at eye level, elbows close to the body and shoulders relaxed. A quick workstation safety checklist can guide you; use it to support ergonomic safety.
Pair posture work with breathing. Deep diaphragmatic breaths relax the neck muscles and improve oxygen flow. Sit tall, inhale through the nose for four counts, let the belly rise, then exhale slowly through the mouth for six counts. Do this three times before each exercise set.
Good posture and steady breathing set the stage for the moves that follow. If you notice your shoulders creeping up, take a micro‑break: roll them back and down three times, then return to work.
Key Takeaway: Small workstation tweaks and breathing pauses can cut neck strain before you even start exercising.
Step 3: Perform Gentle Neck Mobility Exercises
Now it’s time to move. Mobility work loosens stiff joints and wakes up the deep neck flexors that support the head.
Active Flexion/Extension: Sit upright, chin to chest for five seconds, then look up toward the ceiling for five seconds. Repeat 20 times, three times a day.
Active Rotations: Turn your head to the right, hold five seconds, then return to center. Do the same left side. Again, 20 reps, three sessions daily.
Side Flexion: Tilt ear toward shoulder, hold five seconds, come back. Switch sides. Keep the movement smooth, no jerking.
A mild ache can occur at first, but the discomfort may fade as the muscles adapt. If dizziness appears, stop immediately and seek advice. neck-pain exercise resource
Watch the short video below for a visual walk‑through of each move.
Do these moves in a quiet space where you can focus on smooth motion. After a week, you should notice easier turning and less tightness.
Step 4: Build Support with Shoulder and Upper‑Back Exercises
The neck works with the shoulders and upper back. Weakness in those areas keeps the head tilted forward, pulling the neck muscles into a chronic stretch.
Start with a scapular squeeze: sit or stand tall, pinch shoulder blades together, hold three seconds, release. Do 15 reps, twice daily.
Next, try wall angels: back against a wall, arms at 90°, slide them up and down while keeping elbows and wrists touching the wall. Perform 10 reps, three sets.
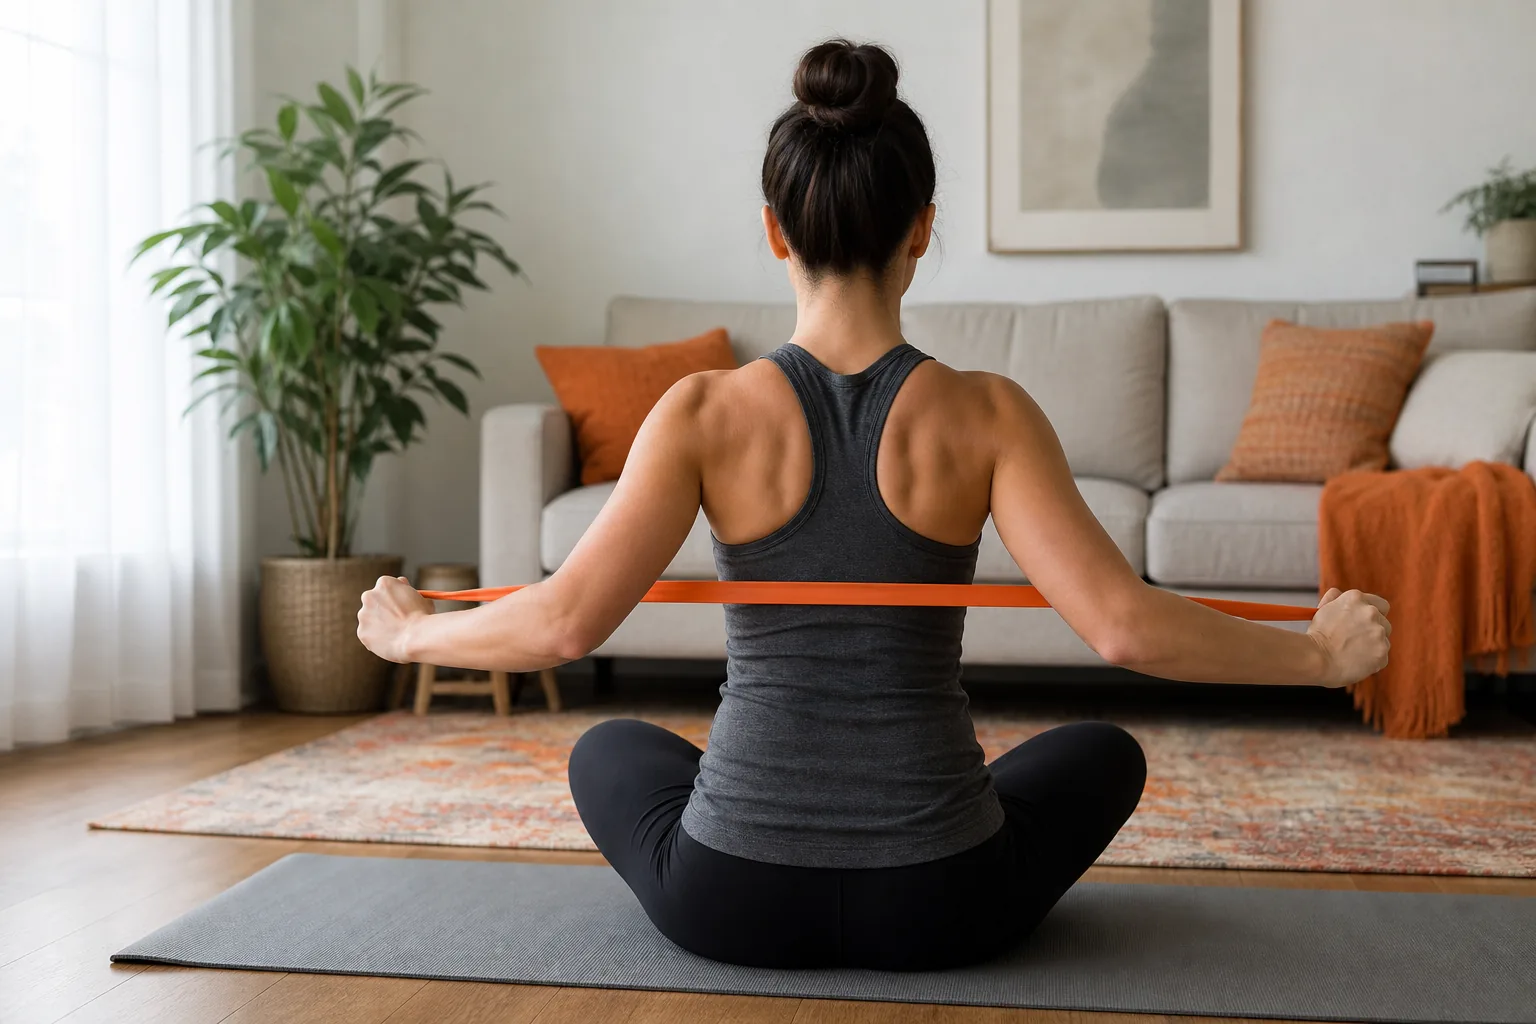
For a deeper challenge, add a Theraband row: anchor the band at chest height, pull toward you while squeezing shoulder blades. Aim for 12‑15 reps, three times a week.
For further reading, see this exercise-therapy review and neck-pain exercise analysis.
Keep the movements controlled; avoid any sharp jerks. If you feel a sharp sting, reduce the range or stop.
Pro Tip: Perform shoulder squeezes while watching TV, it turns a passive hour into a mini‑workout.
 Step 5: Create a Gradual Routine and Know When to Get Help
Consistency beats intensity. Build a weekly schedule that blends the moves from steps 1‑4. For example, Monday, Wednesday and Friday can be your dedicated neck‑mobility days; Tuesday and Thursday focus on posture breaks and shoulder work.
Track progress in a simple log: note the date, the exercises you did, reps and any pain rating. Over two weeks, you should see the rating drop or stay steady below five.
If after six weeks you haven’t noticed improvement, or if pain spikes above a 5‑7 level, book an appointment. Laurens Holve Healthcare’s osteopaths can assess muscle imbalances, offer hands‑on treatment and add modalities like acupuncture if needed. Osteopathy | Laurens Holve Healthcare
Remember, pain that worsens with activity, radiates down the arm, or is accompanied by numbness warrants urgent medical review.
FAQ
Can I do these neck pain exercises if I have a herniated disc?
Yes, as long as you stay within a pain‑free range and avoid moves that cause radiating leg pain. Start with the gentlest flexion/extension and stop if any sharp shooting pain occurs.
How many times a day should I repeat the exercises?
Begin with two to three repetitions per movement, three times a day. As you get comfortable, add one or two reps every few days until you reach about ten reps per set.
Do I need any equipment?
Most of the routine uses just your body weight. The only optional tool is a Theraband for the row exercise in step 4; it adds resistance without bulky equipment.
Is it okay to stretch after a workout?
Yes. Gentle static stretches for the neck and shoulders after you finish the mobility set can help maintain flexibility and reduce post‑exercise soreness.
When should I see a professional?
If pain persists beyond six weeks, gets worse with the exercises, or you notice numbness, tingling or weakness in the arms, book a consultation with an osteopath or physiotherapist right away.
Conclusion
Start with the safety check, fix your posture, move through the mobility drills, add shoulder support and stick to a simple schedule. If pain stays or worsens, Laurens Holve Healthcare can give you hands‑on help in North London or Woking. Take the first step today, book your assessment and begin the routine.